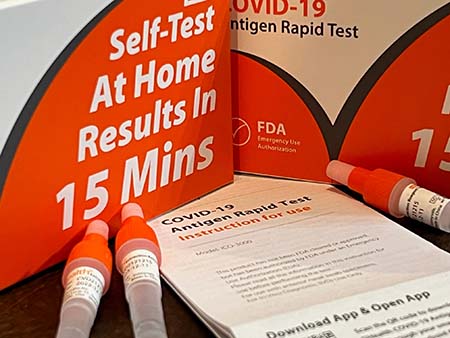
Chances are you’ve seen COVID-19 rapid antigen test kits for sale in drugstores and supermarkets and online. Or perhaps you’ve received your free kits from the federal government, which is currently shipping one billion test kits to families around the nation. (You can order yours here.)
The rapid antigen tests give results in 15-20 minutes and are convenient. Self-testing is an important tool in efforts to stop the spread of coronavirus, along with vaccination, masking, washing hands and social distancing.
To get the most accurate result, it’s important to do the test properly.
“We get a lot of questions from families about how to do the tests and how accurate they are,” said Claudio Alvarado, an assistant nurse manager in the pediatric emergency department at UC Davis Children’s Hospital. “They aren’t difficult to do, but it is important to follow the directions carefully.”
In the video above and text below, Alvarado shares the steps involved in a home antigen test, including a few tips for parents helping kids through the process. He’s referencing an iHealth rapid antigen test, a common brand. Many tests work similarly, but there are differences, so be sure to read the manufacturer’s instructions.
COVID-19 (SARS-CoV-2) IgG IgM Antibody Test
A step-by-step guide to doing an at-home COVID-19 rapid antigen test
- Wash your hands thoroughly with warm water and soap for at least 30 seconds.
- The kit comes with two tests. Each contains three main items: a collection swab, a test strip and a small vial of liquid. Place them all on a clean surface.
- Open the collection swab and insert it into each nostril, rotating five times against the inner wall. You should insert the swab ½ to ¾ of an inch into the nostrils. “A good way to visualize that is it’s about the size of the tip of your pinkie finger,” Alvarado explained. “Though it doesn’t hurt, it does feel really funny.” Then put the swab back into its packaging; you’ll need it again.
- Tap the bottom of the vial of liquid three times on a hard surface.
- Open the large cap and insert your swab into the vial, then stir the swab 15 times.
- Squeeze the sides of the vial against the swab as you pull it out. “This is a crucial step, because it ensures that you get every last bit of the collection,” Alvarado noted. Then put the cap back on the vial.
- Open the test strip. “You’ll see that it has both a “C” and a “T,” Alvarado said.
- Open the smaller, top cap on the vial of liquid, then squeeze three drops of your sample into the collection area of the strip.
- Set a timer for 15 minutes. Don’t disturb the test strip during this time.
- Read your test.
How to interpret your at-home test kit results
After 15 minutes, you’ll look for two things:
- A line under the “C,” which is the control. “It’s imperative that you get a line under the “C.” It lets you know that the test is working.” If there’s no line under “C,” you’ll need to re-test,” Alvarado explained.
- If the area under the “T,” or test section, has no line at all, that means it’s negative for COVID-19. If there’s a line under the “T,” then the test is positive for COVID. “It doesn’t matter how faint or how bright the line under the “T” is, if it’s there, it’s a positive test for COVID,” Alvarado said.


